How To Use Kinemaster – Beginner’s Guide
Kinemaster is an excellent option to take into consideration if you’re new to video editing and searching for an intuitive app. It is suitable for both novices and experts due to its user-friendly interface and extensive feature set.
We’ll demonstrate how to use Kinemaster and make great videos on your mobile device in this guide. You’ll learn how to import and edit video clips, add music and effects, and share your final product.
By the end of this guide, you’ll be well on your way to mastering Kinemaster and creating professional-quality videos.
Contents
How To Use Kinemaster – Step-by-Step Guide
On Both iPhone & Android
The Kinemaster interface is designed to be intuitive and easy to use. It consists of several elements that allow you to access and edit your video projects. The home screen/page resembles a social media video platform like TikTok in many ways.
To gather media files from your device and start a new project, click the large circular button in the center of the screen. A TikTok share button is on the left, while a video player button is on the right.
There are a number of icons for settings, effects, notifications, FAQs, and other things below that.
Let’s start performing particular activities now that the layout of the home page is obvious.
How To Use Kinemaster To Edit Videos? (Steps)
Kinemaster is a professional video editing app that can be used on both Android and iOS devices.
To edit a video in Kinemaster, you can follow these steps:
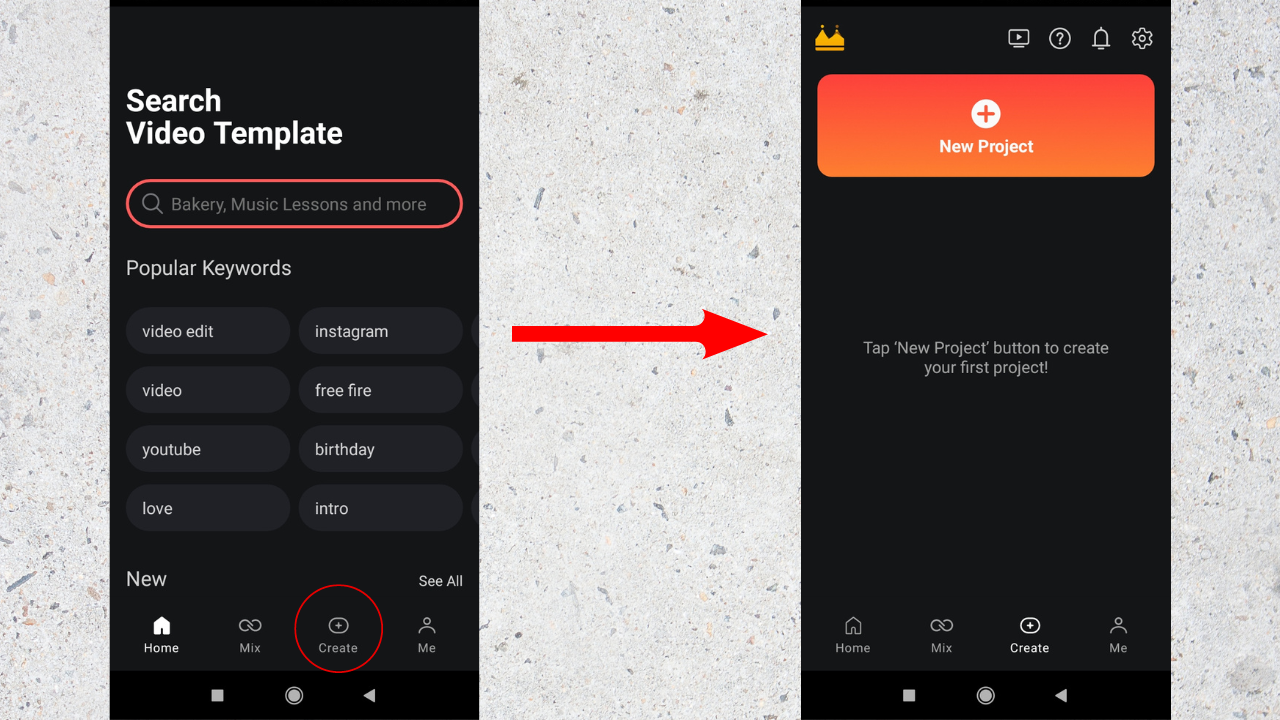
- Launch the Kinemaster app on your device.

- To start a new project, click the “+” icon after selecting the “Projects” option at the bottom of the screen.
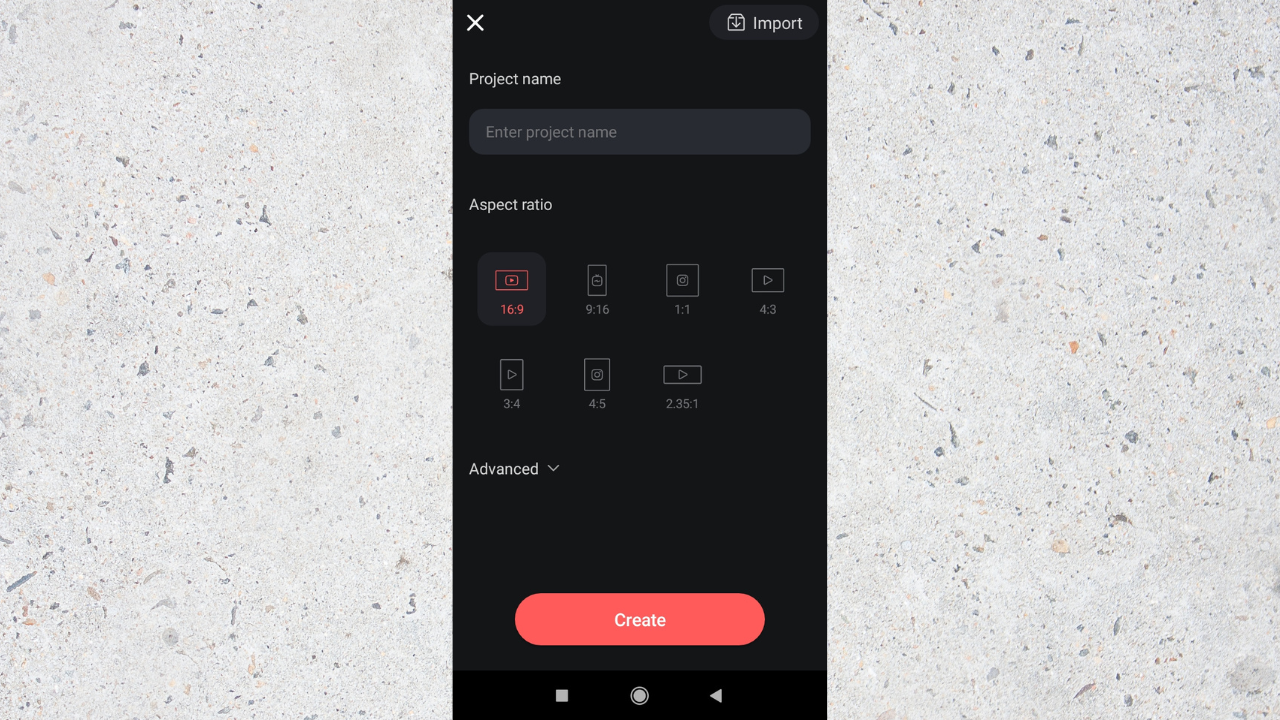
- Select the aspect ratio and name for your project and tap on “Create”.
- Tap on the “Media” tab at the bottom of the screen, then select the video that you want to edit.

- The video will be added to the timeline at the bottom of the screen. You can then use the various tools in Kinemaster to edit the video, such as trimming, cutting, splicing, and adding effects and transitions.

- Tap the “Layer” icon at the top of the screen and choose the sort of overlay you want to add to the video to add text or other overlays.
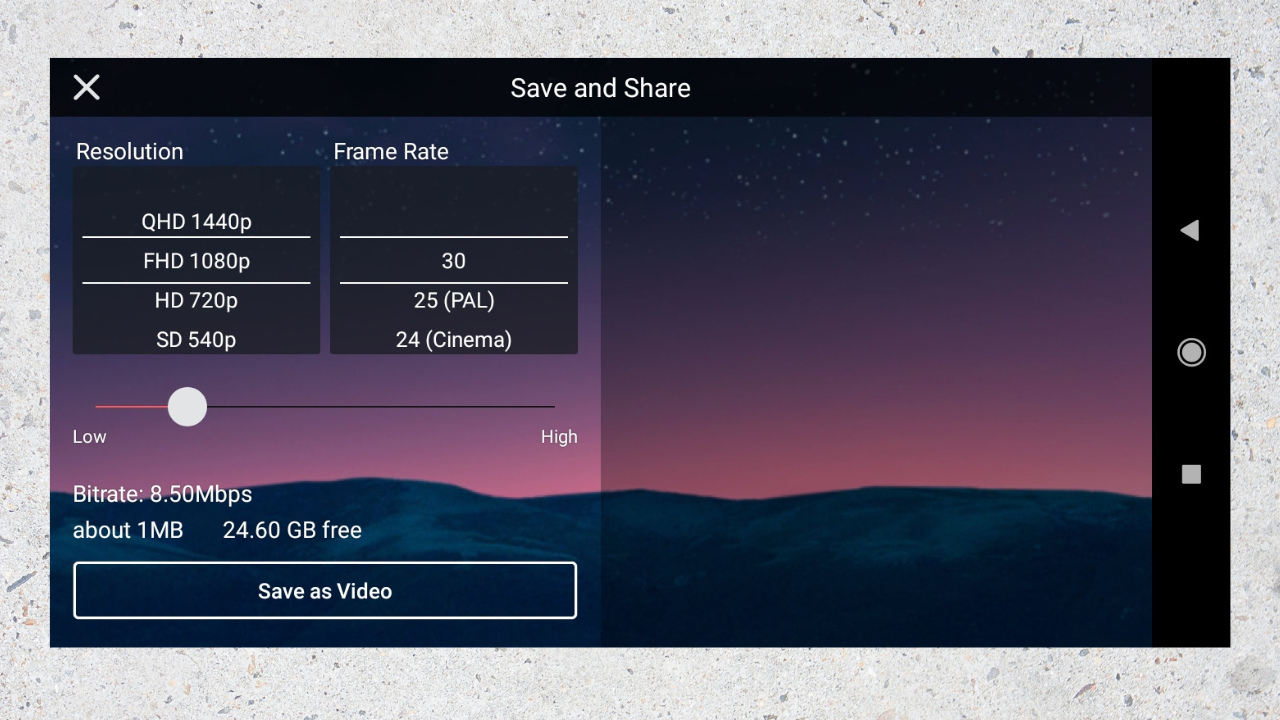
- The “Export” button is located at the top of the screen. When you are finished editing the video, touch on it to save your changes and export the altered version.
Steps to Trim or Split a Video in KineMaster
To trim or split a video in KineMaster, you can follow these steps:
- Open the project that contains the video that you want to trim or split or simply tap on “Create” and select the video file you want to trim from your device.
- Tap on the video in the timeline to select it. Now tap on the Trim/Split option.

- Drag the trim handles at the ends of the video to the desired starting and ending points.
- To split the video into two separate clips, tap on the “Split” icon at the top of the screen. The video will be split at the current position of the playhead.
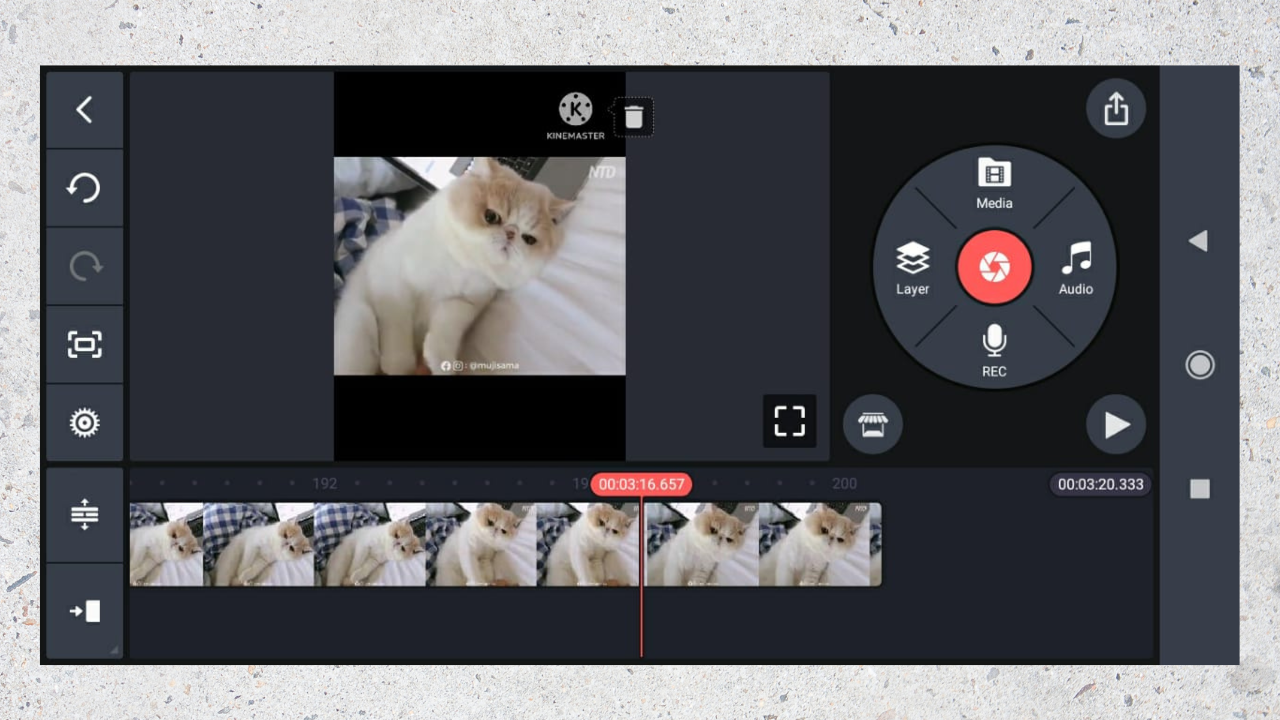
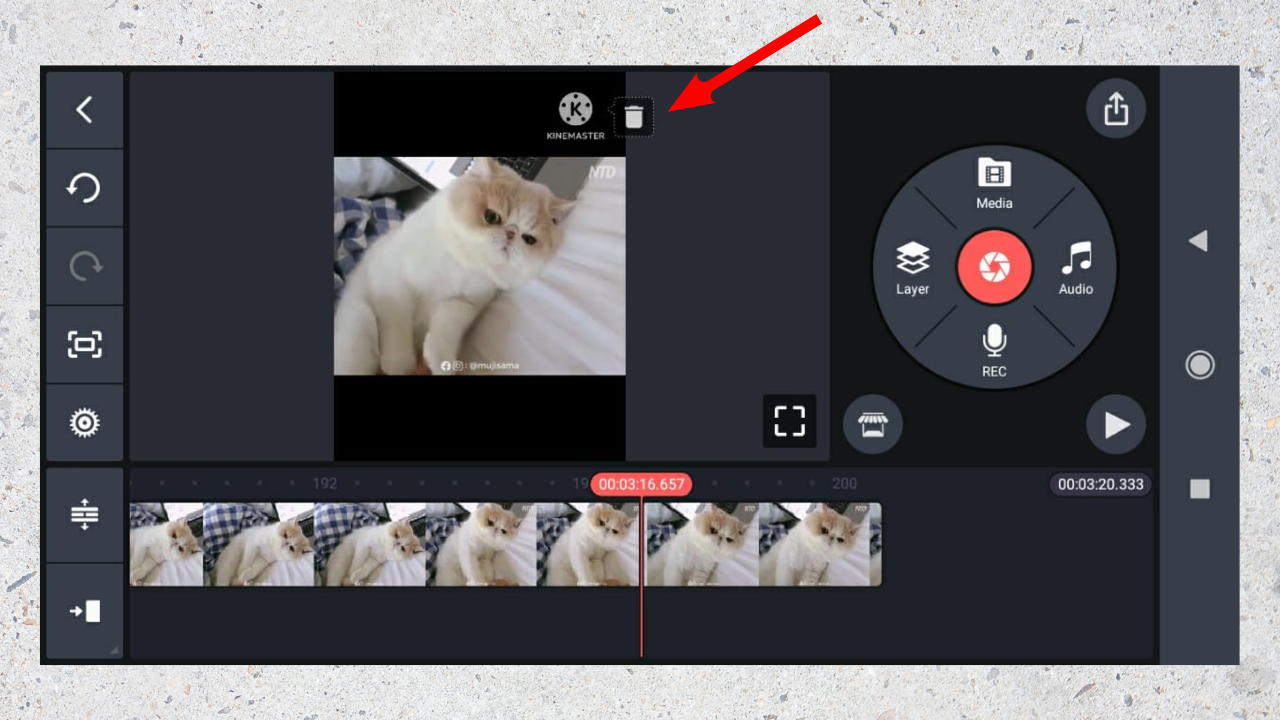
- To delete a section of the video, drag the trim handles over the section that you want to remove, then tap on the “Trash” icon at the top of the screen.
- When you are finished trimming or splitting the video, tap on the “Save” button at the top of the screen to save your changes.

Steps To Add A Transition In KineMaster
To add a transition in KineMaster, you can follow these steps:
- Open the project that you want to edit, or create a new project.
- At the very top of the screen, tap the “Transition” symbol.
- Choose the transition you want to employ by scrolling through the ones that are shown.

- You can add a transition by dragging and dropping it between two clips.
- By sliding the edges of the transition on the timeline, you can change how long it lasts.
- Tap on it to launch the transition editor if you want to further tweak the transition. From this point, you can change the transition’s settings, including the ease-in/ease-out, blur, and more.
- When done, dismiss the editor by tapping the “Save” button at the top of the screen to save your changes.
Also Read:
- How To Change The Background In Kinemaster
- How To Use Green Screen In Kinemaster?
- How To Use Chroma Key In Kinemaster?
Steps to Add Text to Video in KineMaster
To add text to a video in KineMaster, follow these steps:
- Open the KineMaster app and create a new project or open an existing project.
- At the very top of the screen, tap the “Layer” icon.
- Choose “Text” from the menu.

- Enter the text you want to be added to the video here.
- To change the text’s location on the screen, tap the “Position” tab.
- To select a font, color, and size for the text, tap the “Style” option.
- Tap on the “Animation” tab to add an animation effect to the text, such as a fade-in or slide-in.
- Tap on the “Done” button to add the text to the video.
- To make further edits to the text, tap on it in the timeline and use the tools in the “Layer” menu to make your changes.
Conclusion
Thus, you may make and edit excellent videos with the help of Kinemaster, a strong tool. Although it may seem daunting at first, this beginner’s guide should give you all the information you need to get started using Kinemaster like a pro.
With enough effort, you’ll be able to make visually attractive videos that draw in and captivate viewers. So why are you still waiting? Get outside and start making things.


![How To Add Background In Kinemaster [Step-by-Step Guide]](https://kinemasterproapk.cc/wp-content/uploads/2023/01/How-To-Add-Background-In-Kinemaster-2-768x432.jpg)