How To Add Background In Kinemaster [Step-by-Step Guide]
Wanna know how to add background in Kinemaster? Adding background to your Kinemaster video can easily add a unique and creative touch to any production. Whether you’re working on a short video graphic, a tutorial, or something more elaborate, understanding how to adjust the backgrounds within Kinemaster will help bring your ideas and projects to life.
In this blog post, we’ll take an in-depth look at how exactly you can add attractive backgrounds while using the Kinemaster app so that you can create stunning visuals with ease. Read on for our comprehensive guide on adding backgrounds in Kinemaster!
Contents
Features of KineMaster Video Editor
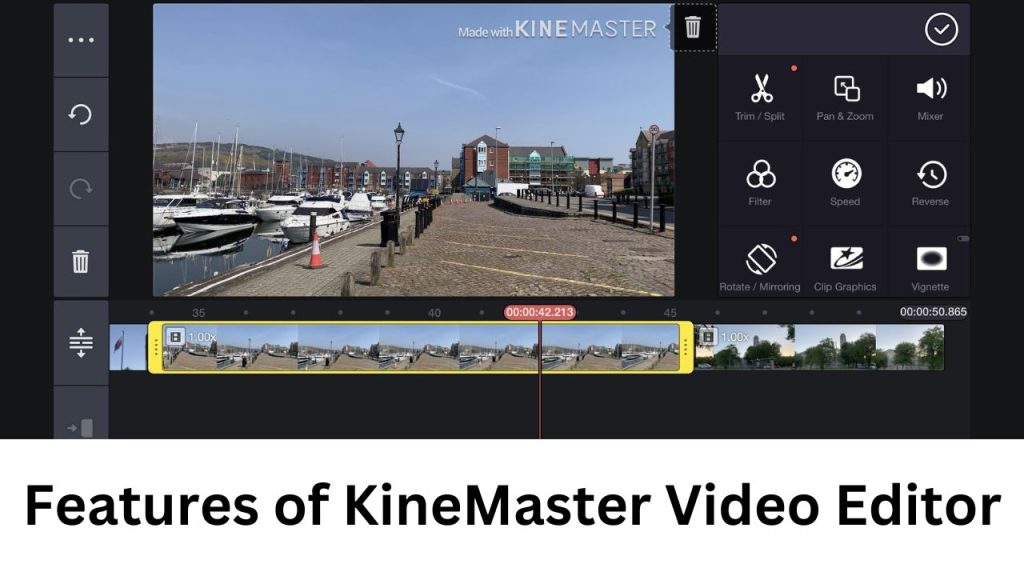
- Intuitive Editing: Users can quickly and simply alter their videos with KineMaster’s user-friendly interface for video editing.
- Instant Preview: KineMaster allows users to preview their edits in real-time, so they can see exactly how their changes will affect the final video.
- Multi-Track Audio: With KineMaster, users can add multiple audio tracks to their videos, allowing for more complex soundscapes.
- Blending Modes: KineMaster offers a variety of blending modes, which allow users to blend layers together in unique ways, creating new visual effects.
- Multiple Layers: KineMaster supports multiple layers, allowing users to stack different elements (such as videos, images, and text) on top of one another in their projects.
- Speed Controls: KineMaster offers a variety of speed controls, allowing users to slow down or speed up their videos as needed.
- Pro Audio features: KineMaster Pro includes some advanced audio features like audio filters, an audio equalizer, a volume envelope, audio ducking, and more.
- Chroma Key: A feature that allows users to remove the background of a video, this allows them to use videos shot on a green screen, or a solid background and replace it with a desired background.
- Voice recording: KineMaster allows users to record their own voice directly in the app, which can be useful for creating voiceovers or narration for videos.
Removing Video Background In KineMaster Pro
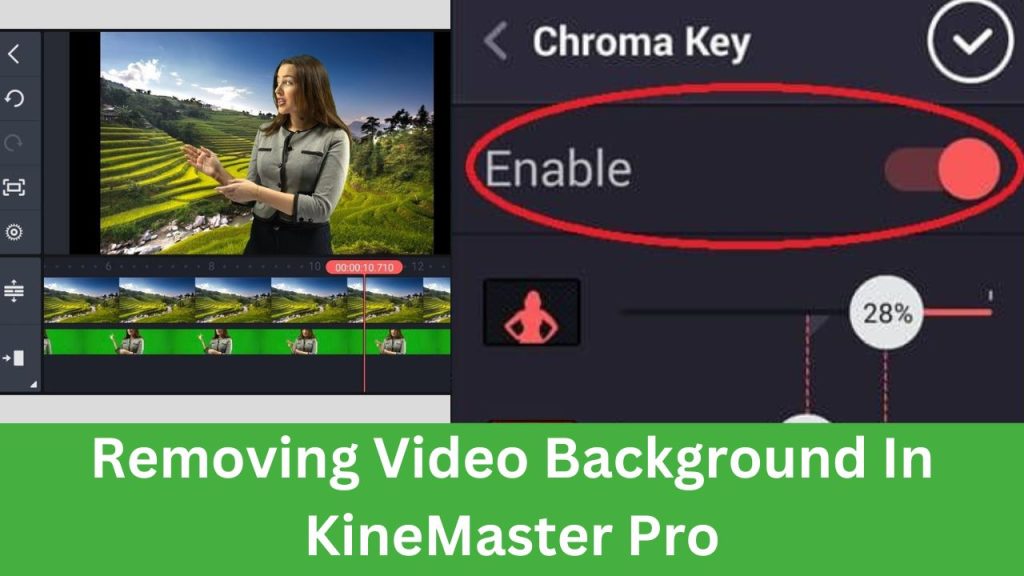
In video editing, having the ability to remove or change the background can add an extra level of professionalism to your final product. KineMaster Pro offers a feature called Chroma Key that allows users to easily remove the background of a video.
In this guide, we will walk through the step-by-step process of using this feature to remove the background of a video in KineMaster Pro.
Also Read:
- How To Add Music In Kinemaster
- How To Use Chroma Key In Kinemaster?
- How To Use Green Screen In Kinemaster?
How To Add Background In Kinemaster
- On your device, launch the Kinemaster app.
- To start a new project or open an existing one, click the “+” button.
- In the media section, import the background image or video you want to use by clicking on the “+” button.
- Next, import the video you want to edit by clicking on the “+” button in the media section.
- Place the background layer at the bottom of the layer panel by dragging it there.
- Select the video layer that you want to edit and tap on the “Layer” option at the top of the screen.
- Choose the “Chroma key” option to open the editing tools.
- Use the color picker to select the green color on the video and adjust the tolerance and edge smoothness as needed.
- To make sure the background has been appropriately eliminated, preview the video.
- To save the changes, click the “Apply” button when you are happy with the outcome.
- You can then add additional layers, text, and effects as needed to complete your project.
- To save your edited video, click the “Export” option at the end.
Note: If you want to change the background color or image later on, you can simply repeat steps 5-11 and select a new background.
Additionally, to use this feature, you must have the Kinemaster Pro edition.
Conclusion
So this was all about how to add background in Kinemaster. Applying a background to your Kinemaster video is simple and easy. With just a few clicks, you can add pizzazz and professionalism to your videos. And who knows? You might even be able to start your own YouTube channel with all of the great content you will be able to create using Kinemaster!
![How To Use Chroma Key In Kinemaster? [2023]](https://kinemasterproapk.cc/wp-content/uploads/2023/01/kim-03-768x512.png)
![How To Add Fonts In Kinemaster [Quick Tip 2023]](https://kinemasterproapk.cc/wp-content/uploads/2023/01/kim-02-768x512.png)