How To Change The Background In Kinemaster
Are you looking to add some visual interest to your video projects with KineMaster? then you have to know how to change the background in KineMaster.
Whether you want to transport your subjects to a new location or simply add a different aesthetic to your video, changing the background in KineMaster is a quick and easy way to elevate your content.
The KineMaster allows up to 10 video layers overall and an unlimited number of text, image, handwriting, and overlay layers (on the supported devices). Layer timing and placements can be readily changed, and layers can be animated using key-frame animation or one of the predefined animation effects.
In this tutorial, we will walk you through the steps for swapping out the background in your KineMaster project, providing you with the tools you need to take your videos to the next level. With a little bit of creativity and the help of this tutorial, you’ll be able to create professional-quality videos that truly stand out from the rest.
Contents
Why Change the Background of a Video?
There are several reasons why you might want to change the background of a video:
- To create a sense of location: By changing the background of a video, you can transport your subjects to a new location or setting. When dealing with limited resources and being unable to physically shoot on location, this can be extremely helpful.
- To add visual interest: A new background can add visual interest to a video and make it more visually appealing to viewers.
- To match the tone or theme of the video: Changing the background can help to reinforce the tone or theme of the video, whether it be serious, whimsical, or somewhere in between.
- To cover up distractions: Sometimes, the background of a video can be distracting or cluttered. Changing the background can help to minimize these distractions and keep the focus on the main subject of the video.
By changing the background of a video, you can add a new layer of creativity to your project and create a more polished and professional-looking final product.
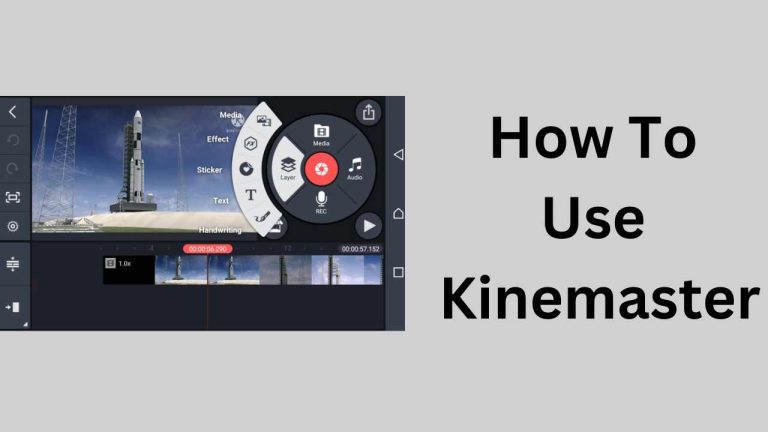
Features of KineMaster Video Editor
KineMaster is a feature-rich video editing app for Android and iOS devices. Here are some of its key features:
- Intuitive Editing: KineMaster’s editing interface is designed to be easy to use, even for those new to video editing. With a range of simple yet powerful tools, you can quickly and easily trim, split, and rearrange your video clips.
- Instant Preview: KineMaster’s instant preview feature allows you to see the changes you make to your project in real time, so you can fine-tune your edits on the fly.
- Multi-Track Audio: KineMaster’s multi-track audio feature allows you to add and layer multiple audio tracks in your project, giving you greater control over the soundscape of your video.
- Multiple Layers: With KineMaster’s layer-based editing system, you can add multiple layers of video, images, and text to your project, allowing you to create complex and dynamic compositions.
- Blending Modes: KineMaster’s blending modes allow you to change the way layers blend together, giving you even more creative control over the look of your video.
- Speed Controls: KineMaster’s speed controls allow you to speed up or slow down your video, giving you the ability to create fast-paced action sequences or slow-motion effects.
- Pro Audio Features: KineMaster’s pro audio features include a range of advanced audio controls, such as EQ, compressor, and reverb, giving you the power to fine-tune the sound of your video.
- Chroma Key: KineMaster’s chroma key feature allows you to remove the background from a video or image and replace it with another, making it easy to composite footage or create special effects.
- Voice Recording: KineMaster’s voice recording feature allows you to record voiceovers directly within the app, making it easy to add narration or commentary to your video.
With these powerful features, KineMaster is a versatile and professional-grade video editing tool that can help you create high-quality videos on the go.
How To Change The Background In Kinemaster – Easy Steps
To change the background of a video using the chroma key feature in KineMaster, follow these steps:
- Open your KineMaster project and tap on the layer containing the video with the background you want to change.

- Tap the “Edit” button in the top right corner of the screen.
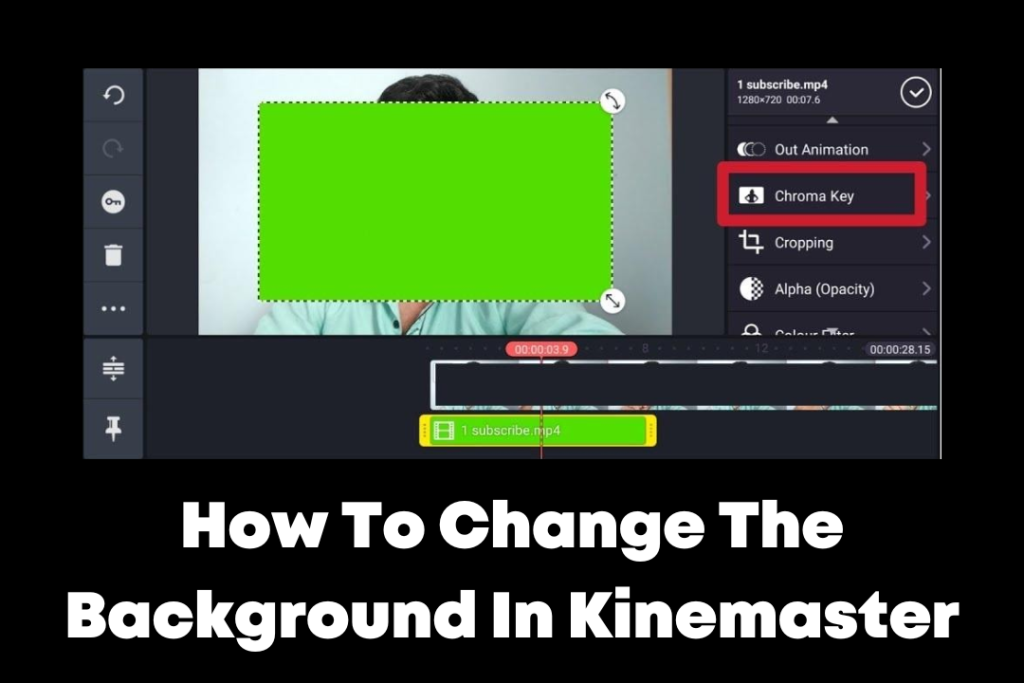
- In the editor, tap the “Blending” option in the bottom menu.
- Tap on the “Chroma Key” option to enable the chroma key effect.
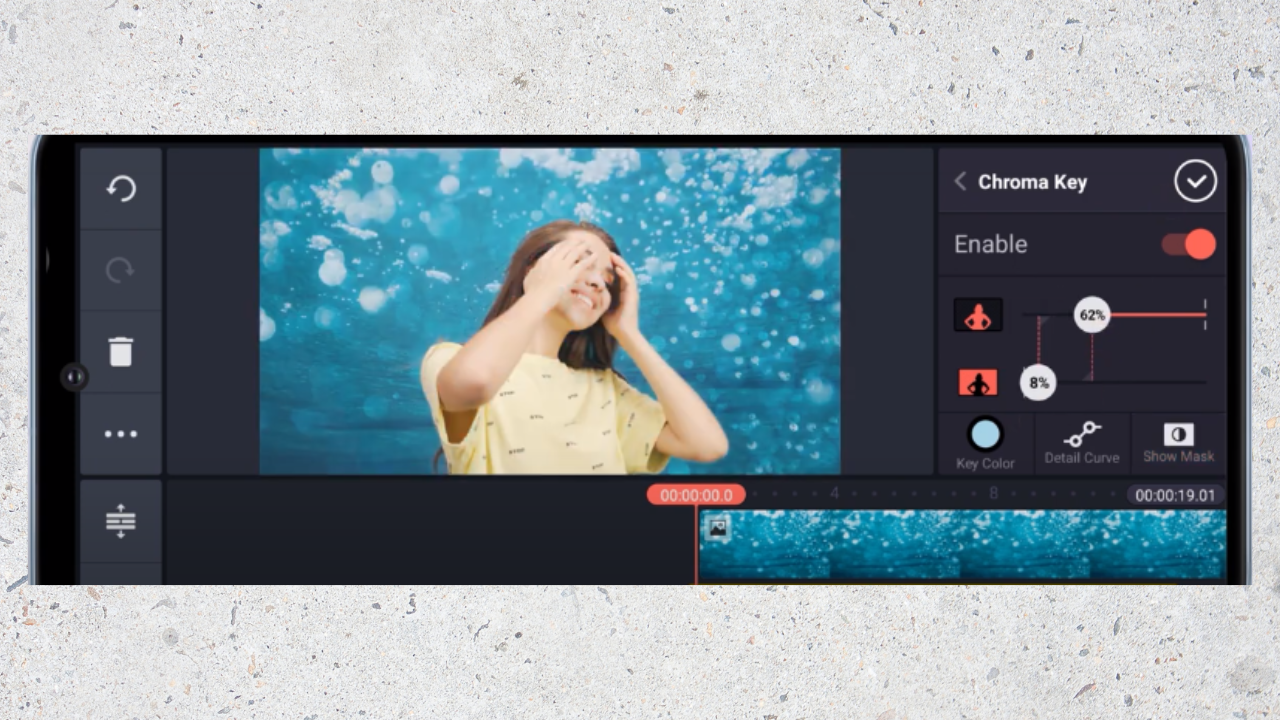
- To choose the color of the backdrop you want to erase, use the color picker. You can choose a color manually using the color wheel or use the eyedropper tool to sample a specific color from the video.
- To change the foreground and background layers’ transparency, use the blending sliders. This will allow you to blend the new background with your original footage.
- To make the changes take effect, touch the “Done” button when you are satisfied with the outcome.
- To share your altered movie with others, save your project and export it.
By following these steps, you should be able to use the chroma key feature in KineMaster to change the background of a video with ease. To discover the appearance that best suits your project, experiment with various backgrounds and blending options.
Also Read:
- How To Use Green Screen In Kinemaster?
- How To Use Chroma Key In Kinemaster?
- How To Add Music In Kinemaster
Final Words
Kinemaster is a powerful tool that allows you to change the background of your video with just a few taps. By following the steps outlined in this article, you can quickly and easily change the background of your Kinemaster video. With Kinemaster, there are no limits to what you can create. So try out many backdrops and discover which one suits your videos the best.
That was all about “How To Change The Background In Kinemaster”. Stay tuned for interesting tips and tricks like these.


![How To Use Chroma Key In Kinemaster? [2023]](https://kinemasterproapk.cc/wp-content/uploads/2023/01/kim-03-768x512.png)